Happy Manicure Monday everyone! Ahh... my Mani this week just makes me smile - it's so perfect for Summer! Can you believe the first day of Summer is here mid-week! Yay!
This week again, I am teaming up with Jayne from Cosmetic Proof and Trysh from Prairie Beauty Love - we always pick a theme together and put our own spin on it! It has been so fun as we all have very different styles and interpretations of our weekly theme!
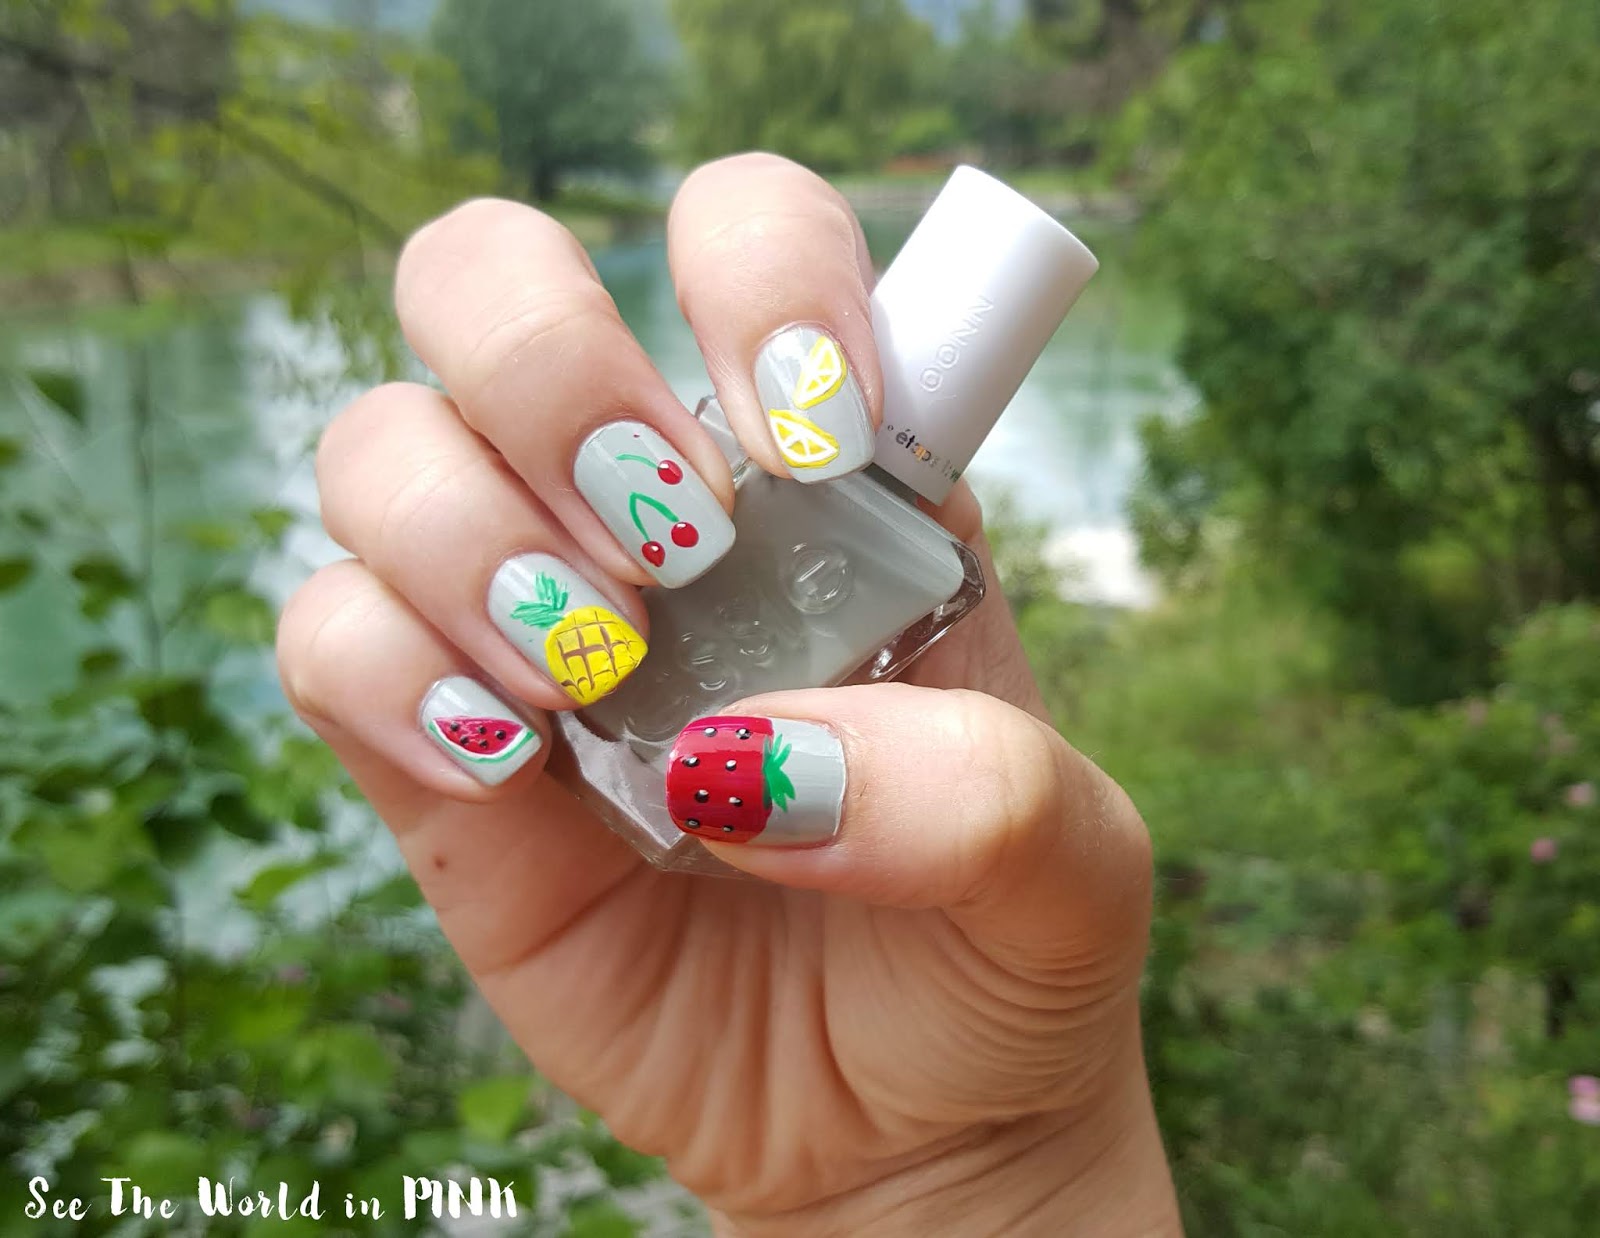
This week our theme was "fruit" and lately I have been loving smaller, more subtle nail art looks! I couldn't just pick one fruit to do, so I thought why not pick a different fruit for each nail?!
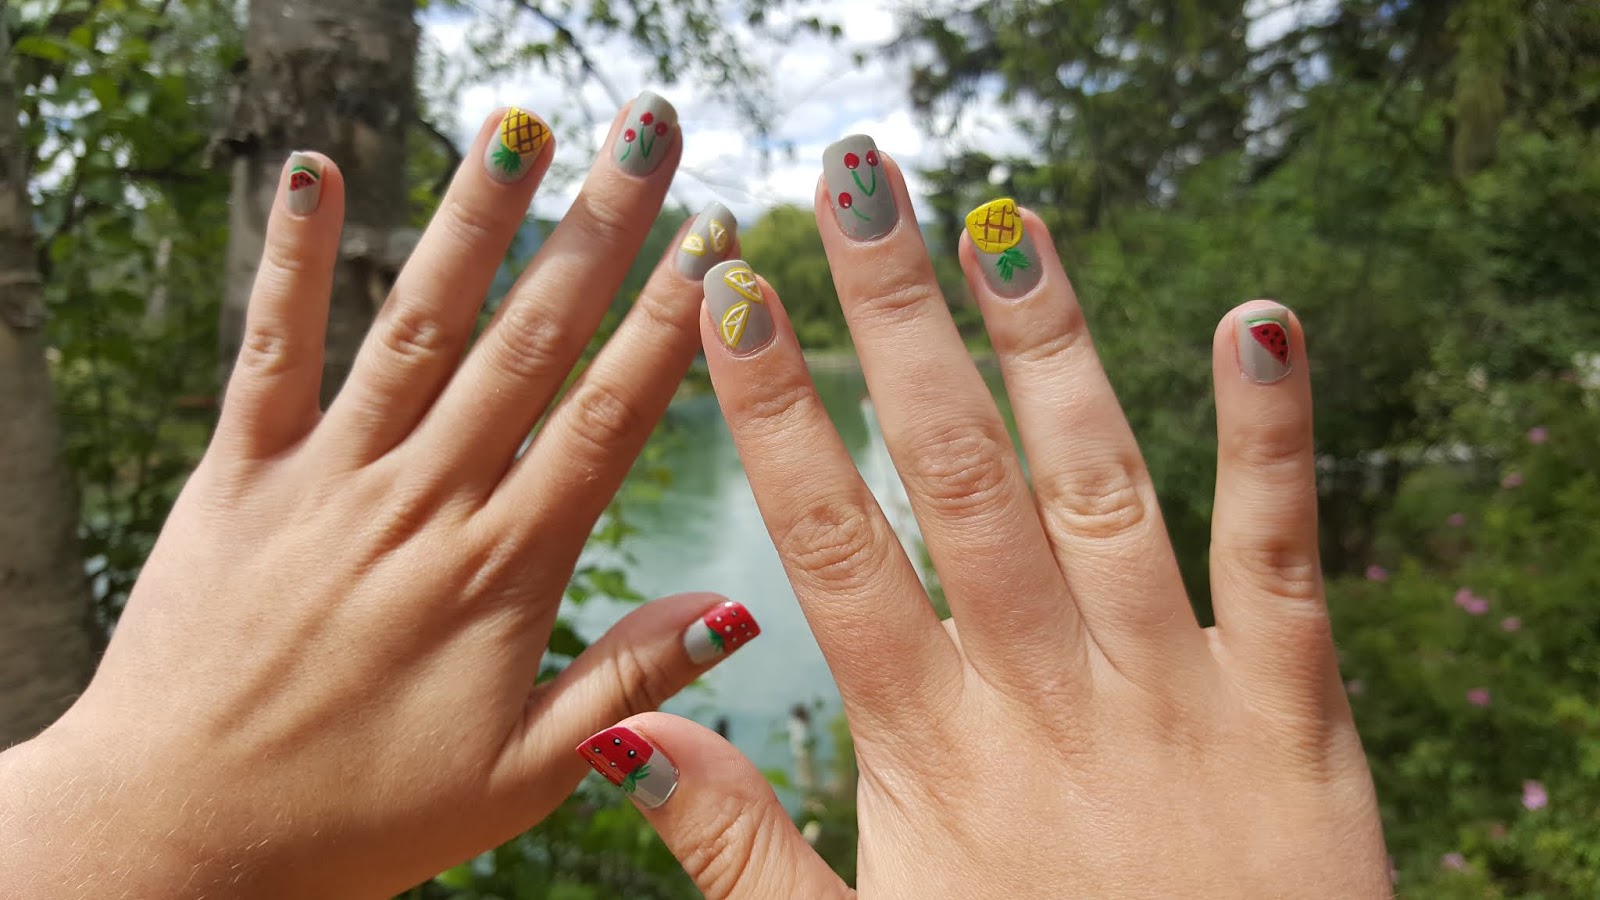
I was actually at the family cabin all weekend so I only brought a few polish options with me - I ended up deciding to do alternating red and yellow fruits and I absolutely love how the colours turned out over top of the sage green base! (Plus, at the cabin I had some backup and a friend helped me with painting my left hand so it was actually photograph-able and didn't look like my 1 year old painted it!
The base polish I used Essie Gel Couture in Sage You Love Me - and it's a perfect back drop for a bright, fruity nail look. (You can see it swatched here alone if you want - it's gorgeous and I love the Essie Gel Couture formula and brush!)
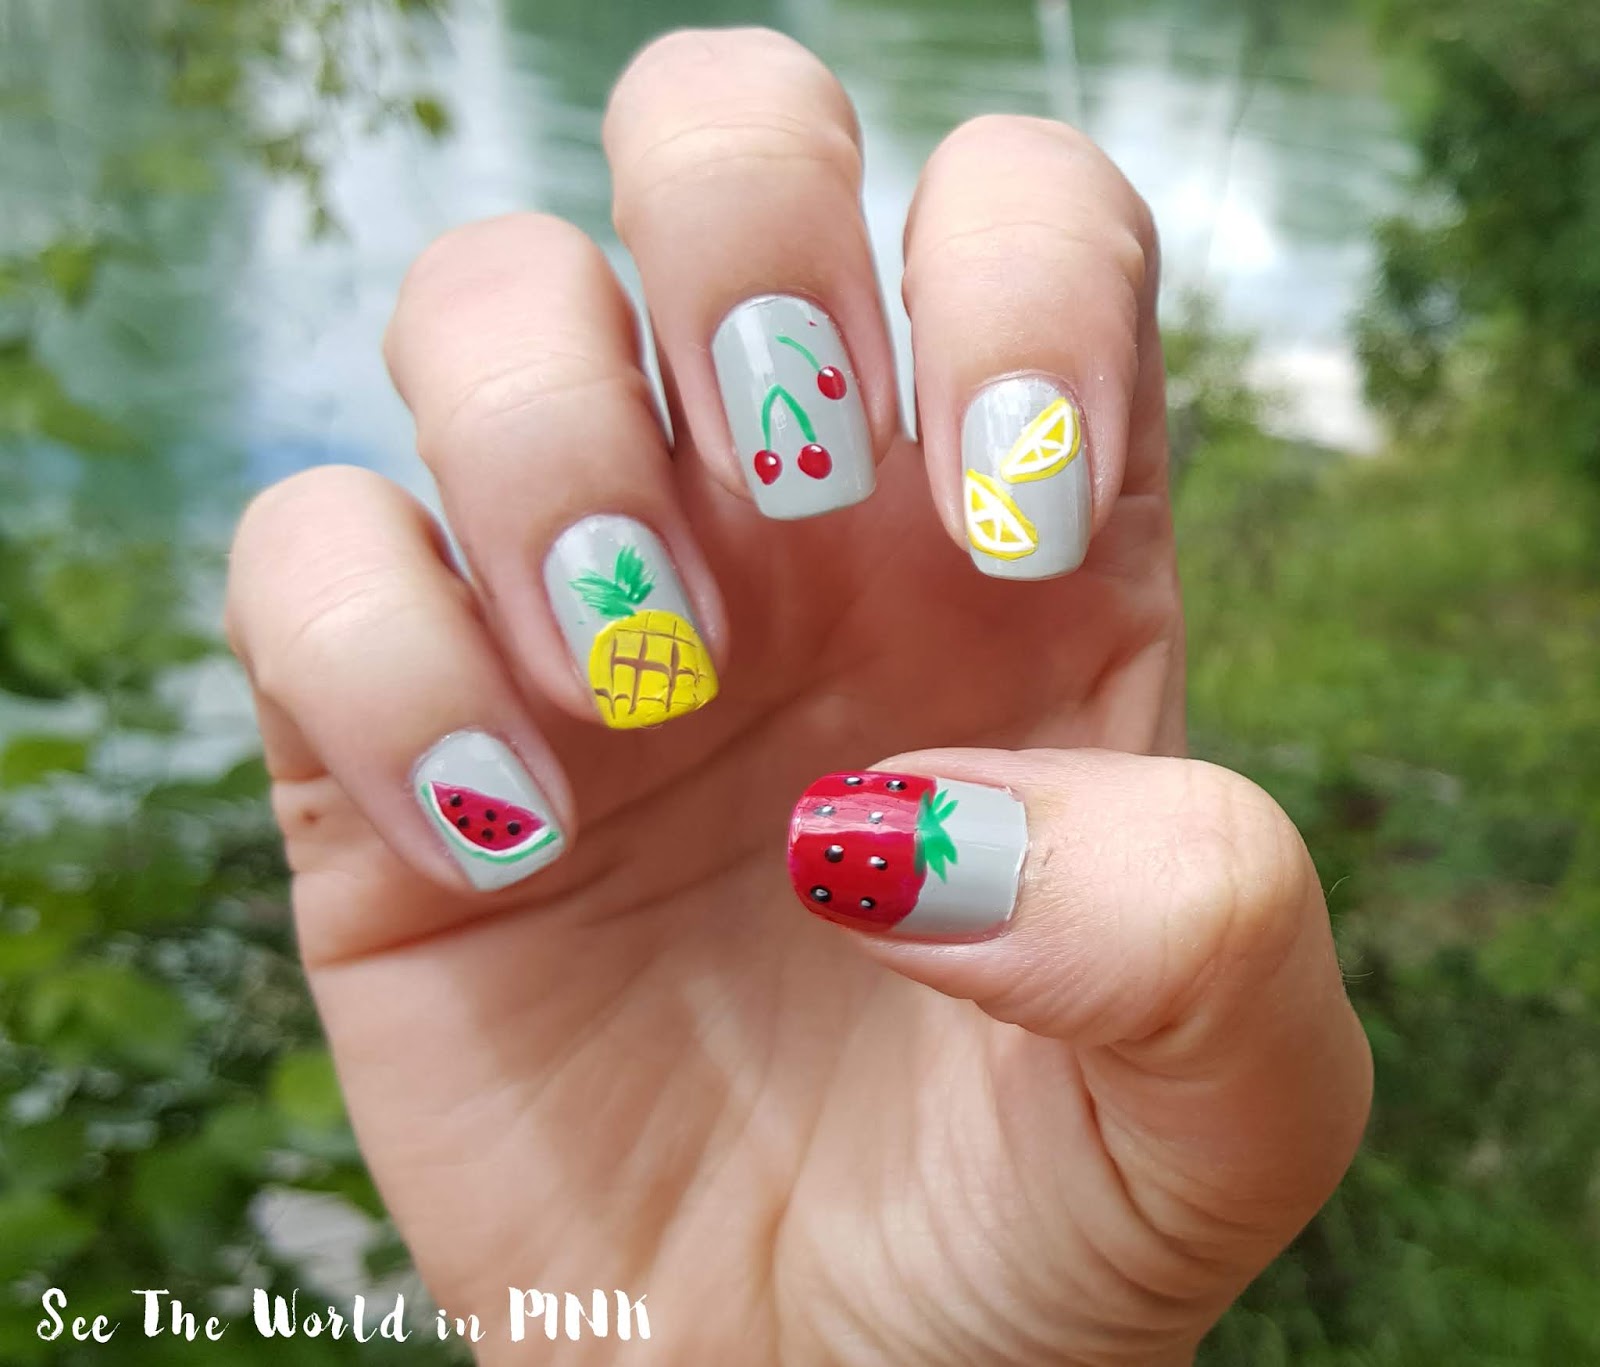
Here's how I completed the nail art:
Watermelon Slice:
1. Paint a half circle with a nail art brush and fill with red
2. Then, use a brush and paint a small line of white, then green and the rounded end
3. With a dotting tool and black polish add a few seeds
Pineapple:
1. Create a half moon shape with yellow at the end of the nail and fill in
2. use a brown polish (we actually mixed our own with red, green and yellow) and create diagonal lines with a nail art brush
3. Then create a little topper with green and a nail art brush
Cherries:
1. Use a dotting tool and create 2 or 3 dots
2. Using green and a brush create stems
3. Add a small dot of white with a dotting tool to add a little shine
Lemon Slices:
1. Create small half circles with yellow polish
2. With white polish, leave a little space around the edges and re-create the half circle with a line. Do not fill in.
3. Then create 2 little diagonal lines across the white across the centre
Strawberry (I do have a more detailed how-to here with pictures):
1. Create a slightly heart shape top with a brush and fill in (two mini arcs meeting in the centre)
2. Using green and a brush, add a few small green stem toppers
3. With a black polish and dotting tool and a few seeds
4. Follow with a smaller dotting tool and white and dot over the seeds

I'm loving how Summery and fun these turned out - I called it my Fruit Salad or Fun and Fruity nail art look! They were perfect for the weekend at the cabin with gorgeous weather and a BBQ!
Again Again, make sure you check out Cosmetic Proof and Prairie Beauty Love - I can't wait to see what they come up with for our Fruity theme!
Oh wait wait, are you left handed??
ReplyDeleteAs I said before, I love how cute your manicure turned out and I am also loving the fact that you brought polishes up to your cabin!
Yes I'm left handed!!! Haha - I was committed to our fruit theme :) And I knew I would have down time when the baby napped!
DeleteI love your fruits, they turned out so well!
ReplyDeleteThanks Chantal!!! Your apple on your recent mani was amazing too!
DeleteI love your nails, so cute!
ReplyDeleteJennifer | Mrs Q Beauty
Thanks Jennifer!!!
DeleteBeautiful!!!
ReplyDeleteThanks - I was so happy with how these turned out!
Delete